It is no secret that I have recently fallen in love with the game of Dungeons and Dragons. It combines everything I love, including gear. That’s right, I’m a sucker for gear and accessories that match my hobbies and as a result of Dungeons and Dragons my clutter factor has increased. I own more dice than I will probably ever need, a journal for character notes, and a binder for my character stats sheets. I’m in deep, y’all.
What’s the one thing I didn’t have? A dice tray, and after checking out the ones for sale online I decided I would take a shot at making my own instead of paying a pretty penny to get one someone else made. I have always had a passing interest in crafts so I took a risk, bought an old cigar box off eBay, and went to town.
I’m pleased with how it turned out and now I would love to share this knowledge with you.
Step 1: Acquire a cigar box.
You can use a lot of things for the base of your tray. For the sake of quirk and stability I went with an old cigar box I found on eBay. They’re easy to find and you will have your choice. I went with an older, worn out box with a bit of character and some discoloration. You’re welcome to grab one that is new and shiny instead. Or you can walk over to your local craft supplies store and buy an appropriately sized wooden jewelry box.
Whatever you decide, you’re going to need a rectangular box roughly 9″ inch by 5″ inch. Go wild.
Step 2: Gather the rest of your supplies.
If you went the craft store route you’re ahead of the game and if not, better get to a craft store. While you are there you are going to want to buy some combination of the following:
- Stain, and in particular, I would recommend these awesome wood stain pens. All the effect of a good stain without the mess of a can. You’ll only need this if you plan to stain the wood and can choose the appropriate color.
- Polyurethane. You’re going to be taking the old finish off your cigar box and will need a new one, and this will do the trick. Get the smallest bottle you can because it goes a long way and the dice tray isn’t that large.
- Sponge brushes. Grab two just in case one gets messed up somewhere in the process.
- Sandpaper. Nothing special here, folks. Just buy some good old sandpaper.
- Felt. There are two options here, you can either purchase regular felt and buy glue to adhere it to your box OR go the easy route and get self-adhesive felt. Whatever floats your boat.
Total between these items and the cigar box came to roughly $25USD.
Step 3: Find your workspace and get to sanding.
A good sanding is going to be key to getting your new box to readily accept the stain. If you’re going without the stain, sanding is a nice way to bring a little life back to your box. My cigar box was drab and water stained and a good sanding really improved it. The water stain became less visible and I noticed that some of the true character of the wood started to come through once the old finish was off of it.
Sanding is pretty simple. If the box had a finish on it, it’ll be pretty obvious as it comes off. You’ll want to follow up with a microfiber cloth to get all of the sanded wood off the box once you are finished. This is probably the easiest part, and now you can move on to the optional stain.
Step 4: Optional Stain.
One thing I learned from this experience was that I like naturally dark woods, not wood stained to look dark. This was discovered by staining a tiny little part on the bottom side of my dice tray and realizing the stain I chose was too dark and it was not going to set as nicely as I wanted it to. I abandoned my stain idea, but you might not! Once you test it out on a small part of the box you may decide you want to go through with the stain and if you do, awesome.
It’ll take some time and you will want to follow the application and drying instructions provided with the stain. You’ll also want an old rag or t-shirt handy to help you along the way. Once it has been stained to your desired color and the stain has had time to set, you’re off to the next step.
Step 5: Finish the wood.
Reader, meet polyurethane. It is extremely easy to apply and a little bit goes a long way. Use your sponge brush, apply a dollop of polyurethane to it, and set off evenly brushing it onto your box. If you stained, this will help protect it. If you just sanded, this might actually bring out more of the wood’s character as well as give it a smoother feel. The kind I bought dries quickly so this whole process took almost no time at all.
Please note: I did not do anything to the inside of my cigar box since I didn’t end up staining it. That will probably be the most tedious bit, but you do you.
Step 6: Felt, felt, baby.
Whether you’re going with a classic solid color or you’re like me and decided to go for a sparkly felt/foam self-adhesive combo, you’ve now reached the point where you can begin applying your felt. I kept the lid on my cigar box and applied it to both the bottom and top sections. When my dice tray is flipped open I use the lid to hold my loose dice. You’re welcome to remove the lid altogether if you want to go for an open box look.
You’ll want to press the felt into the box and mark along the edge where you’ll cut it to size. Once it is marked, grab a pair of scissors and cut away. Test the size, make adjustments if necessary, and then get it to stick. If you’re using glue then you will want to make sure to keep it thin and spread out so that the felt rests evenly against the wood. If you hate glue, like I do, then you just have to remove the self-adhesive backing from the felt and stick it to the wood.
Glue will take time to dry but if you went the self-adhesive route (and honestly why wouldn’t you?) then your box is now ready to rumble.
Step 7: Test it out.
Now is the time to make sure you’re happy with the soundness of your box, including the felt. Grab some dice and roll away. I like a little bit of an insulated bounce from my felt and am pleased with how mine came out.
If you’re unhappy, you can try covering up the felt with more felt or you can try pulling it up and doing it again. Either way, it is only fun if you’re happy with the end result.
The Finished Product:
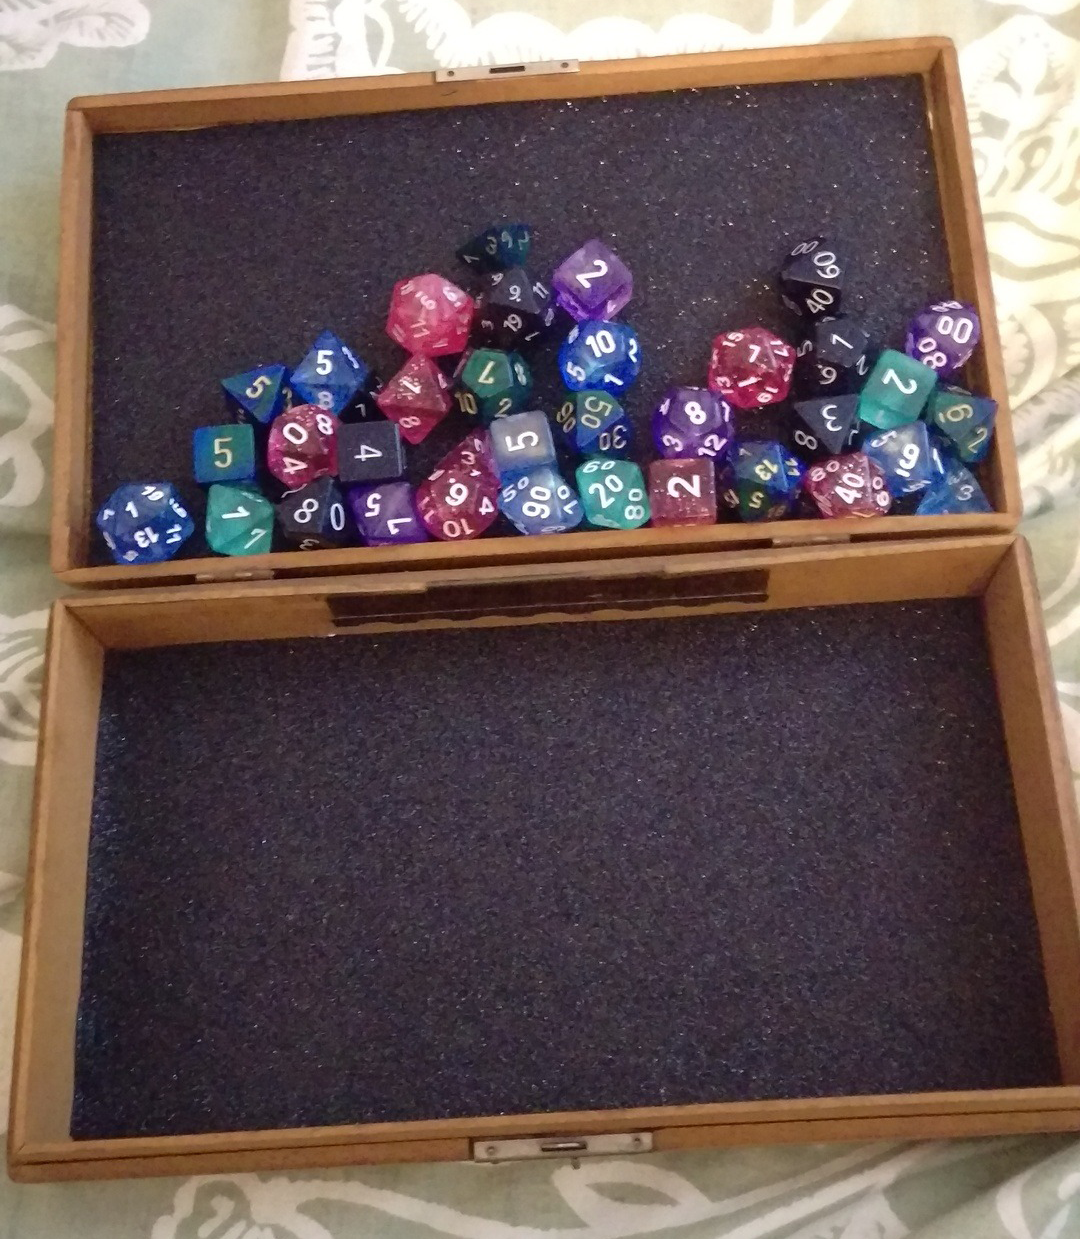
Yours will definitely look different, and that’s okay! That is the fun of making your own dice tray. It’ll be unique, just like you, and you’ll be able to proudly tell your fellow games that you made it.
Let’s hope they don’t ask you to make theirs, too… (though if they do, you can send them to me and I’ll put them on the right path). Happy crafting!